Yachts share the sea with all manner of interesting organisms, many of which consider a shiny hull to be a particularly salubrious place to set up home. First to arrive is an algae scum, which coats the surface. Next come coral spores, which settle in the algae and hatch into proper corals. Once these are established, they provide food and shelter and – most importantly – anchor points for molluscs and barnacles and other animals. These latter are quite capable, once they establish a good hold, of drilling through solid rock; fibreglass is no problem to them at all.
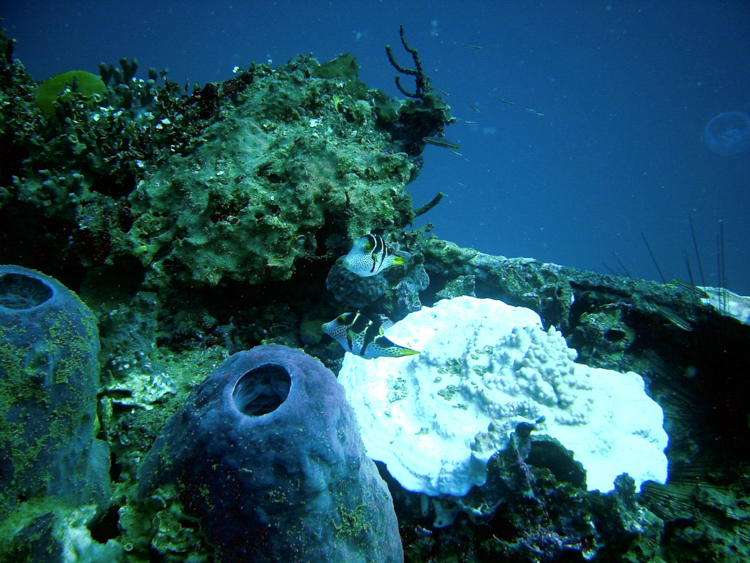
These corals aren’t on Pindimara! We saw them on a wreck in Tonga.
The trick is not to let them get a foothold. One option is to swim under the hull every weekend and clean them off; this technique is used by particularly diligent racers. Most people choose to apply ablative antifouling. This is a copper-based (ie hopefully unpalatable) paint that is designed to slough off when rubbed. Any organisms that are not deterred by the poisons in the paint, are dislodged next time the boat moves, because the outer paint layer as well as anything rooted in it gets rubbed off by the action of the water passing the hull. Obviously, as time goes on, the paint all wears away. About once a year you have to put new stuff on. The only way that you can do this is to haul your boat out onto the land.
Dry-dock space at the shipyard is expensive. Since we knew that the first thing that we would have to do on land was to scrub all the life-forms from the hull, and since there were such a lot of them, it made sense for us to do as much as possible in the water first, while it was all still soft. I donned some scuba gear and spent an enjoyable and fruitful day wiping off algae and chipping at coral with a range of household implements. The best tool turned out to be an aluminium-handled window-wiper. I used a suction cup to keep me in place while I did some of the flatter sections, but generally I just swam up and down attacking each part in turn.
I’d never worked underwater before, but I soon got used to it; the trick seemed to be to consider whatever surface I was working on to be a vertical wall, regardless of which way up I was in the water.
Since I was weightless (well, neutrally buoyant anyway, thanks to the scuba gear), it made no practical difference whether my feet were pointing up or down, so long as I could reach the work area.
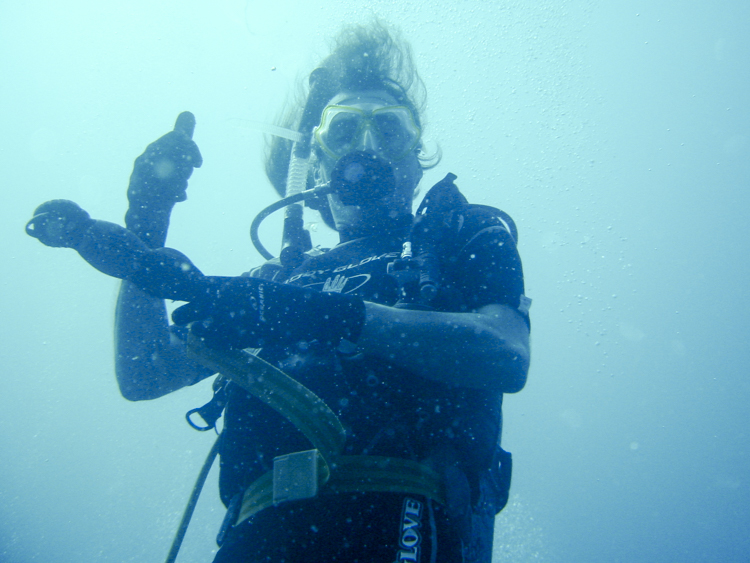
Any way is up
Fish soon realised that food was raining down from above, and for the latter part of my work, I was accompanied by a variety of sea life. Some larger fish even helped by nibbling loosened bits of coral directly from the hull. A couple of air tanks later, the job was completed. Hard work, but satisfying.
We had been told that it is usual to spend a complete weekend doing antifouling, so that is what we booked. However, the weather had been bad recently and so there was a backlog of boats standing (expensively) on the slip waiting to be worked on, and a rapidly building queue of people demanding their turn at the spaces. After a few weeks, though, we did get a spot, and out she came, back onto the same slip on which she had been surveyed.
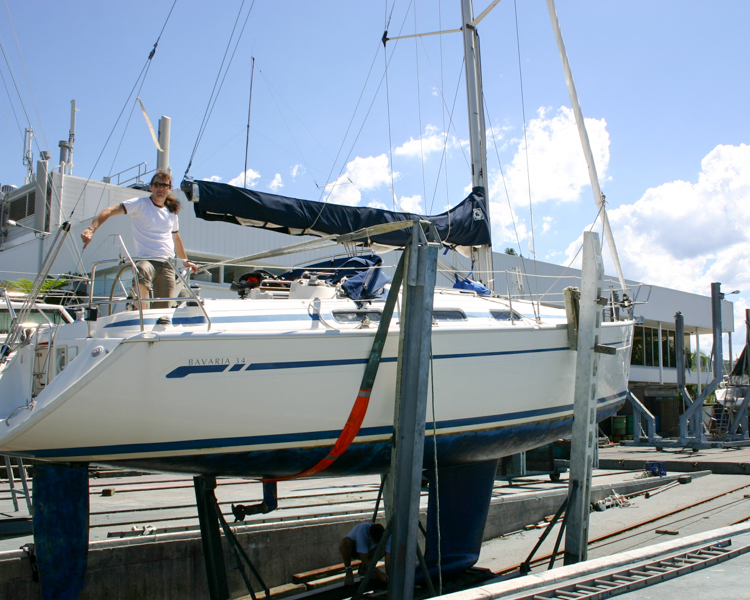
Getting a tow up the slipway
First step was to borrow a water-jet lance and clean all the accumulated gunk off the underside. Right away, my scuba work paid off dividends; it would have taken us a day just to clean the accumulated coral off the bottom. As it was, even though we only had a couple of weeks of algae accumulation to remove, the shipyard staff were hanging around trying to take away the water jet before we had really finished.
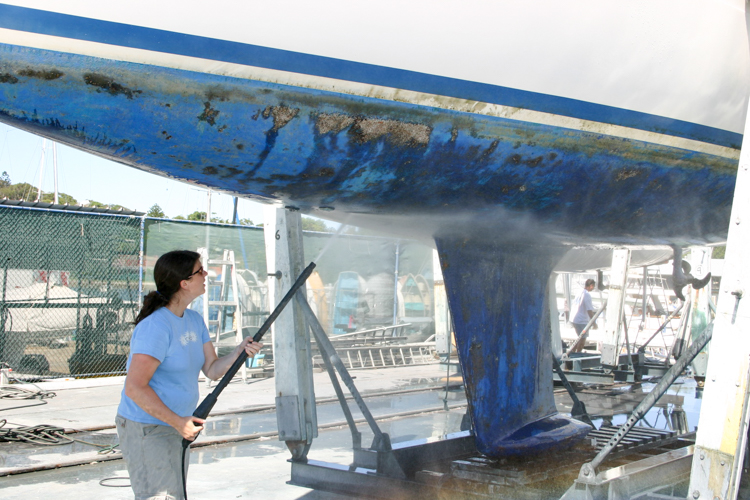
Jetwashing her bottom
The next step was to rub down the old paint layer with wet-and-dry to get a good key for our new coat. This was quite a laborious process, especially as the previous layer hadnt been applied particularly well, and streaks and drips abounded. Working at full stretch above our heads, we were soon turned bright blue from head to toe.
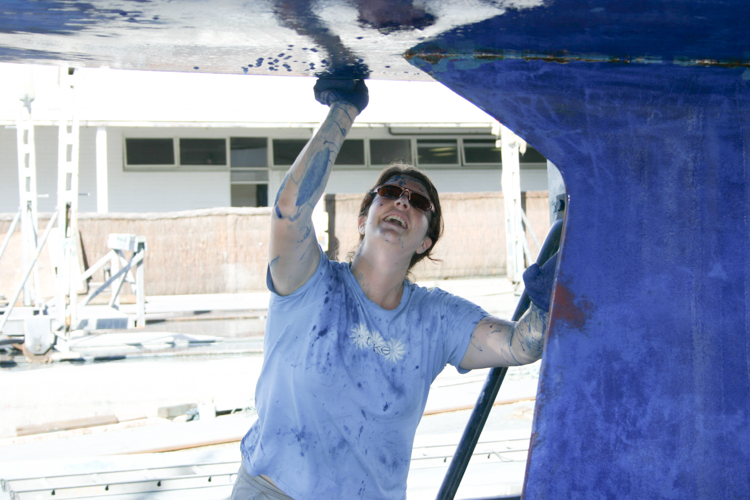
Smurf Labour
Eventually we were satisfied. Protecting all the edges with masking paper, we started to roll on the undercoat.
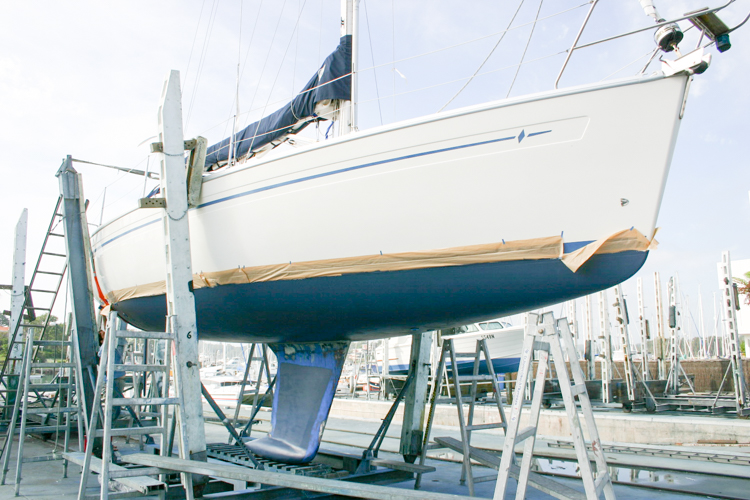
Who is that masked maiden?
The antifouling paint itself was blue, and the undercoat, grey. The idea is that if we see any grey in future, we’ll know that this years antifouling has worn away and it is time to do it again. Our blue paint was some very expensive semi-professional antifouling that we were assured was the best thing to use. We had been a little dubious about the cost, but now we realised the value of that advice. Other workers were having real problems with drips and runs, while ours went on smooth as silk and drew envious glances.
Back at the time of the survey, we had noted that the moulding around the cast iron keel was cracked and was peeling away in several places. Six months later, the problem was much worse. Nick, an engineer loosely attached to David Bray Yachts who dropped by to make sure that we were OK, attacked it with a borrowed angle-grinder and repaired the damage. He wasn’t at all surprised, and said that we could expect similar damage every time we did our annual slipping.
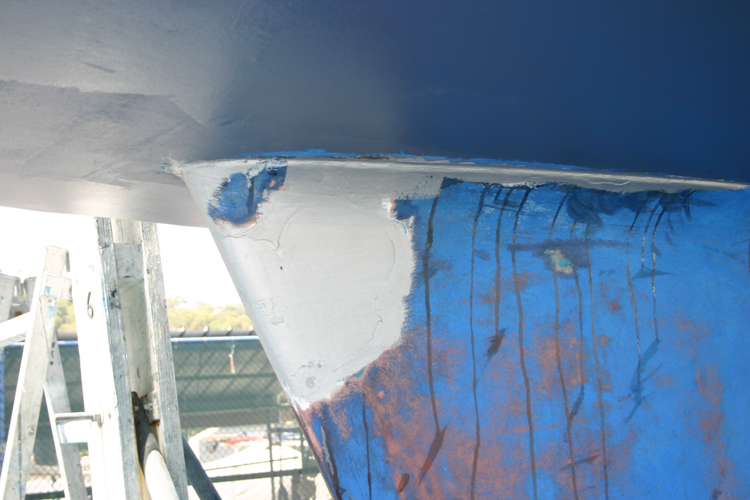
A touch of filler
Once the new moulding was dry, we could finish up the antifouling. We continued painting until we’d run out of paint, putting on three layers overall, and four layers in high-abrasion areas such as the bow, waterline, and leading edges of the keel.
The only area that we couldn’t paint was directly underneath the sling that was supporting the yacht, resulting in an untreated band about a hands-width across running from waterline to waterline just aft of the propeller. The guy next to us, a seasoned antifouler with whom we had been sharing tools and advice, propped up his hull with scaffold poles, undid the sling, and painted underneath. We simply couldn’t bear to try it; that sling was holding up hundreds of thousands of dollars’ worth of yacht, and no way were we going to mess about poking poles into the hull. We resolved to dive underneath occasionally to keep an eye on the strip,and left it at that.
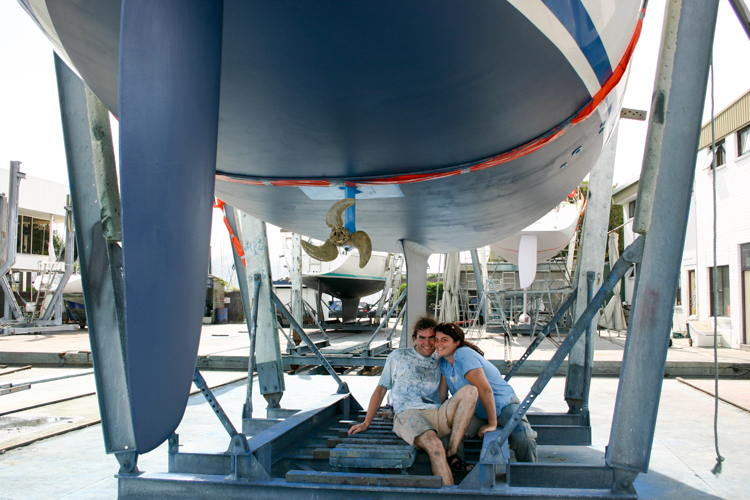
Justifiably proud