It all started out so simply. Since we had been forced to put our plans for an off-grid house in the forest on the back burner, and had quickly built a different house on an urban block nearby, we were left with 14 acres of woodland which would provide us with an endless supply of firewood and the odd camping weekend, and… what else?
I could grow vegetables. And perhaps honey. Maybe ducks.
But let’s start with vegetables.
I decided that my preference would be to work in 10m x 5m plots. I find that area easy to handle with manual tools and, let’s face it, the dimensions make the math easy. Having several identically-sized autonomous blocks, rather than a rambling smallholding, also means that if disaster (irrigation failure, possum attack) visits one block then I haven’t lost everything.
The land slopes at around 8-10 degrees, so I needed to choose my sites carefully if I was to avoid repeatedly staggering up and down from the tool shed. Given that our access road leads only to our putative building site, and that the site itself is still largely covered in freshly felled trees, my options were somewhat limited. In the end I chose a slightly undersized area close to the tool shed, near to a line of native cherry and sedge which appear to define an underground seep.
The soil
I unlimbered the trusty mattock, and set to work.
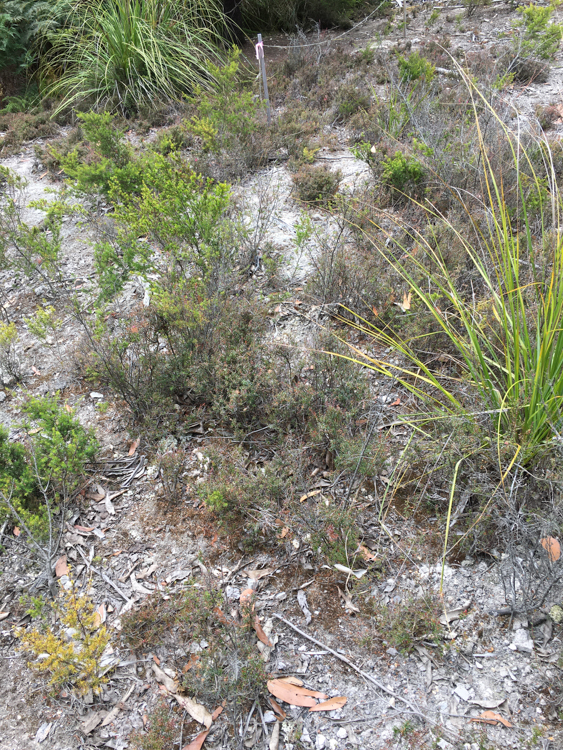
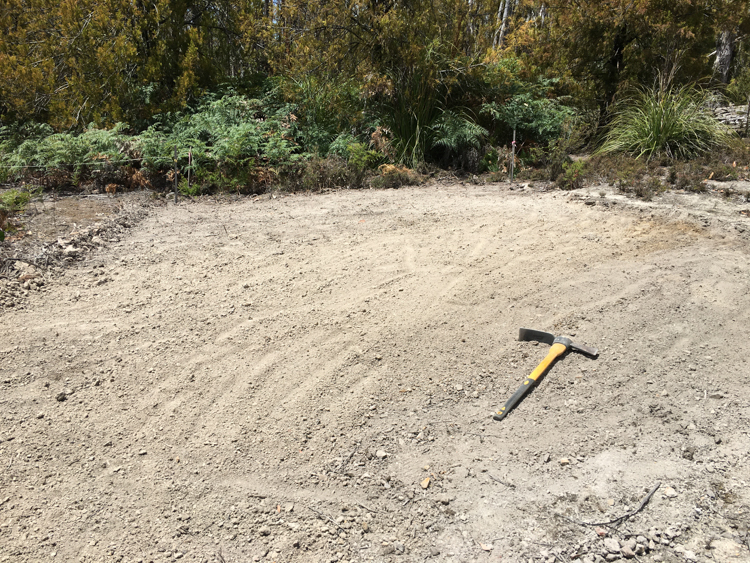
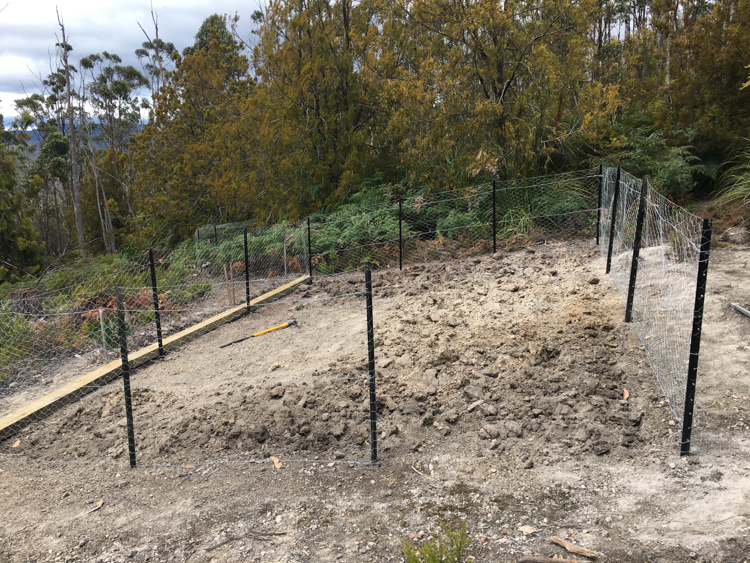
With the area cleared of Common Heath, ferns and debris, I set up a 1.8m fence to keep out the wallabies and possums, and dug over to about 10cm. The soil is sandy clay, and pretty easy to manage.
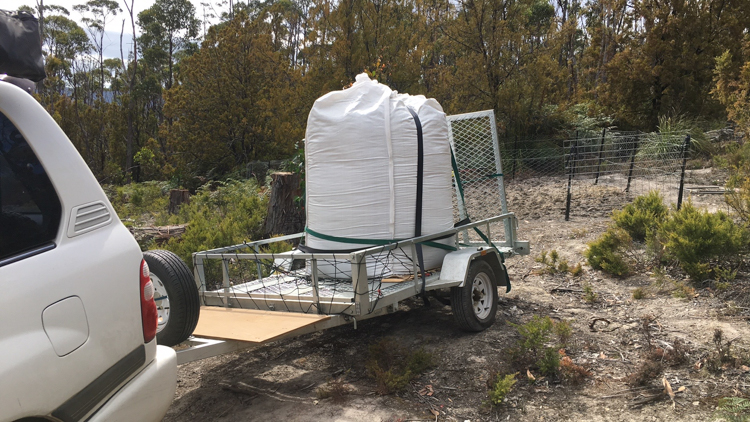
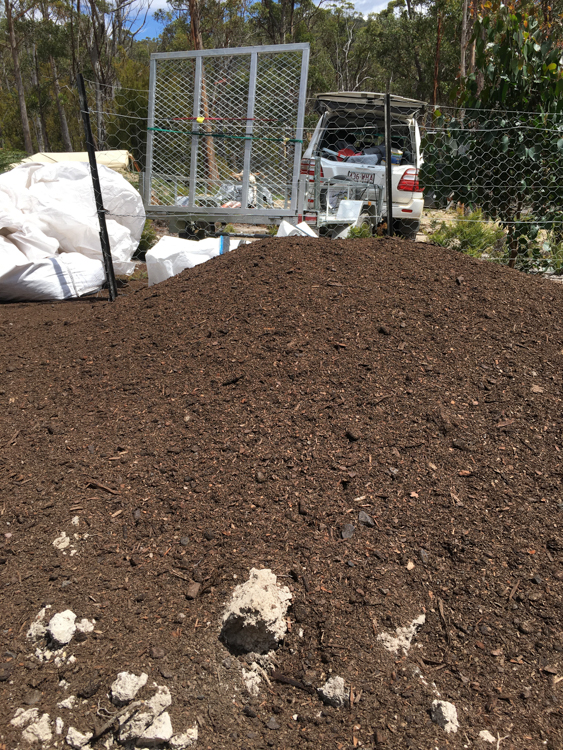
The soil may be easy to work, but it is very poor quality. After some manoeuvring, a helpful fork-lift driver at Horticultural and Landscape Supplies north of Hobart managed to drop a cube-and-a-half bale of SeaGreens kelp compost onto my trailer. I somewhat gingerly towed it to Lymington, and got it up the track.
It took a little while to shovel it out and dig it in, but the plot started to look pretty good.

It was the height of Summer, and the ground was bone-dry. No matter how good my compost, no seeds were going to sprout in these conditions. It was time to install some irrigation.
The irrigation tank
I reckoned that a 2000 litre rainwater tank was probably the biggest I could handle by myself, and should be equal to the needs of my vegetable patch (but read on!).
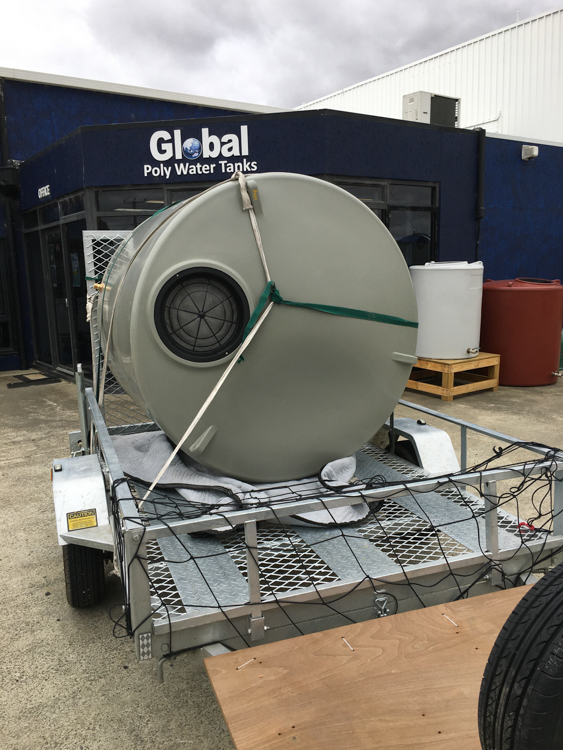
There are many suppliers of rainwater tanks in Australia, most of whom operate on a just-in-time build-and-deliver business model, which didn’t suit me because access to the property is still problematic, particularly for delivery trucks. However, I happened to be out at Global Poly investigating pumps and cartage when they mentioned that they almost always keep some spare 2000s on the forecourt. I put one on the trailer and took it home.
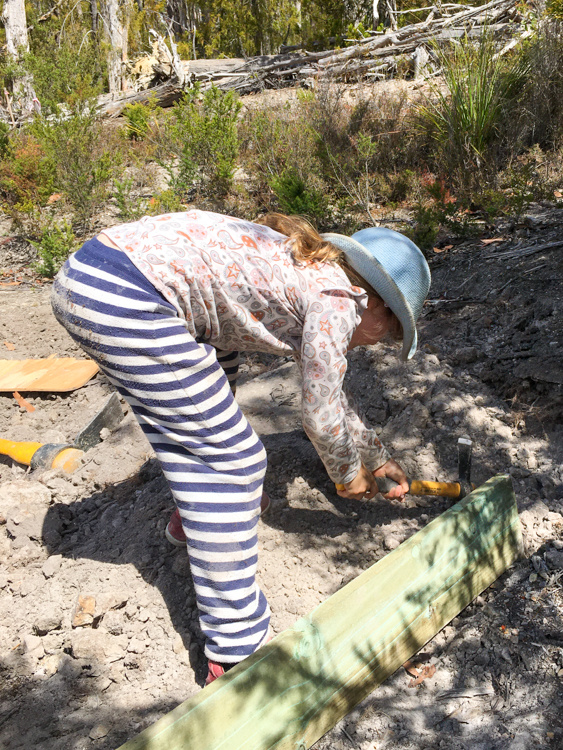
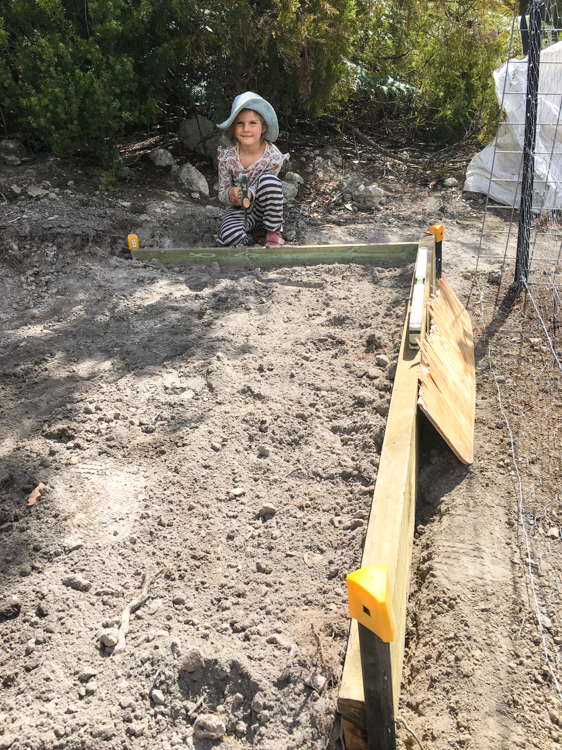
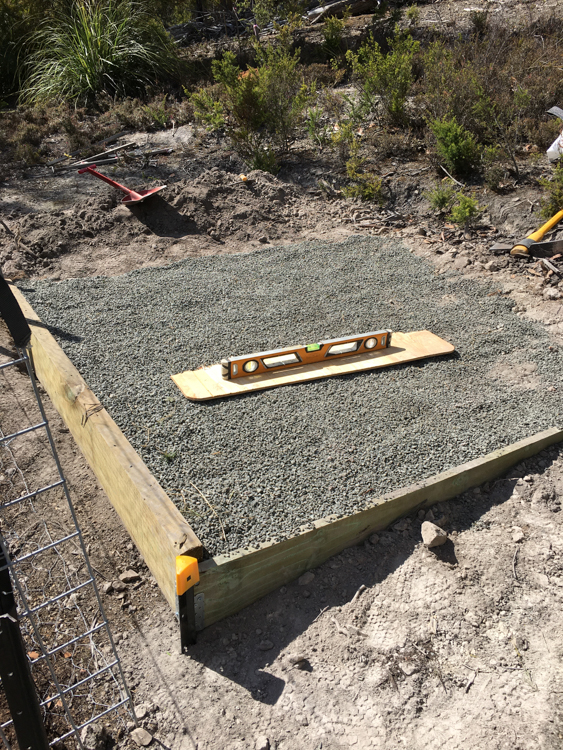
The builders at our new house in Kingston had finished work, and had left behind a pile of surplus blue-stone from their installation of our household rainwater tanks. Berrima and I shovelled about a tonne into a bulk bag on the trailer, towed it to the forest, and spent a happy afternoon crafting a tank stand.
Now I needed a way to fill up the tank. In the future, I have grand plans to fill all my irrigation tanks from the roof run-off of an oversized shed, but that project is still just a twinkle in my eye. In the meantime, I needed to sort out cartage. There are a number of local water cartage firms who will bring a tanker to your property, but again I was concerned about access for heavy commercial vehicles, so I decided to create my own cartage system.
Water cartage
Originally I looked around for a second-hand Intermediate Bulk Container (IBC). These metal-bound plastic tanks are designed to be handled by a fork-lift and are used all over the world to deliver all kinds of liquid products. They fit neatly onto a trailer or in the back of a ute. It’s usually possible to pick up a food-grade IBC at a reasonable cost, but with COVID playing havoc with the logistics, this was not a good time to try to find one in Tasmania.
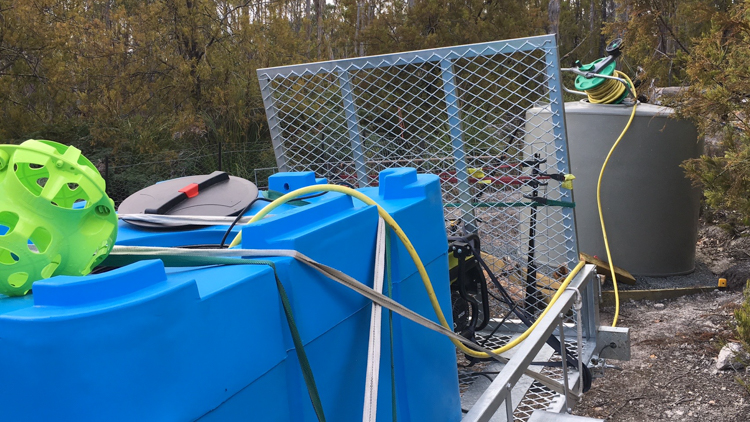
Once again, Global Poly came to my rescue. They sell compact ‘Fire Cubes’, designed to be used in conjunction with a generator and a pump in fire-fighting from the back of a ute. At 900 litres, a full tank would exceed the carrying capacity of my trailer, so it would take three partial loads to completely fill up my irrigation tank, which seemed acceptable.

I already had a spare generator that I’d bought for the convenience of the tradesmen working on our Kingston house, and a simple Chinese pump only set me back a hundred dollars or so from my friends at Global Poly, so I was good to go. I pumped water into the cube from my house rainwater tanks, drove to the property, and pumped it back out. And repeat.
Drip Irrigation
I had previously set up small household drip and spray systems running through timers under mains pressure, but I had no real idea how to set up a gravity-fed system on this scale. My gut feel was that, unless I wanted to mess around with tall tank stands, I would need an electric pump to run the system, but I was open to the suggestion of letting it flow out under gravity. There’s a great deal of conflicting and often quite complex advice on the internet, and I wasn’t able to make a firm decision. I did notice that Hobart company Hollander Imports received a lot of local praise. They don’t have a proper web presence, only a Facebook page, so I drove into Hobart and ambled into their office, hoping for some advice.
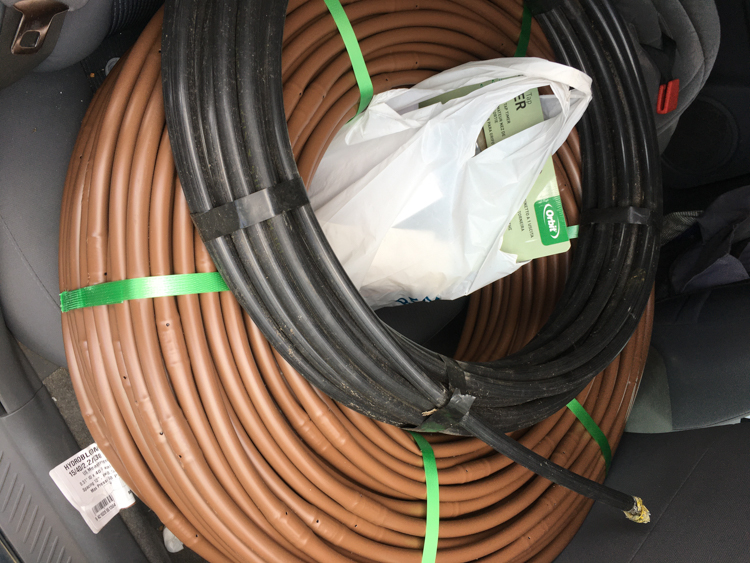
The gentleman behind the desk listened carefully as I described the size of the tank, the size of the plot, and the slope of the land, and then pronounced the site ideal for a gravity feed system. He loaded me up with coils of piping, constant-pressure drip line, and handfuls of taps, joins and clips. He reckoned that the constant-pressure line would compensate for the change in pressure as the tank emptied, and would provide an even supply of water. He also recommended that I didn’t bother with all the fancy delivery-and-collector patterns published on the internet, but just to run both my plants and my drip lines downhill from a horizontal feed pipe.
The plot is 40 minutes from my house, so I needed a way of automatically turning it on and off as I didn’t want it dripping 24 hours a day (I had nowhere enough water for that!). Hollander Imports sold me a battery-powered mechanical timer, which controlled a simple flow gate.
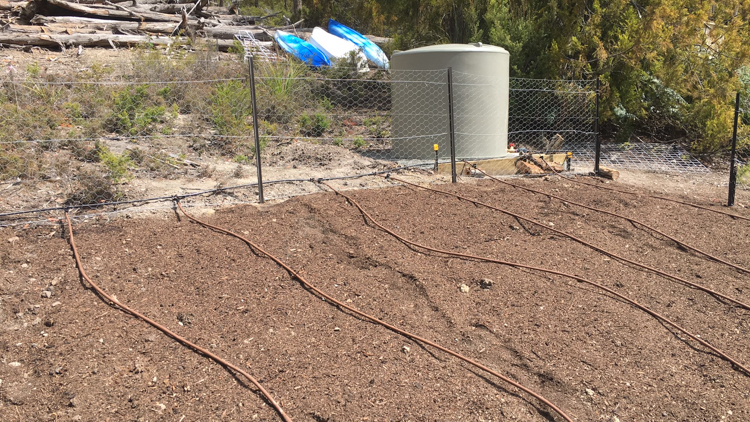
I took all of it up to the land and, leaving the timer aside for the moment, connected the plumbing components together in their approximate final configuration. I manually opened the tap on the irrigation tank, and it all worked perfectly.
I unplugged the piping from the tank valve, and inserted the timer into the line. It toggled on and off correctly according to its program, but even when “on”, it drastically reduced the flow to a rather pathetic dribble. This needed some more investigation.
The secret is in the timing
There was clearly something not quite right with my choice of timer. Eventually, deep in some technical specifications that I found online, I discovered that the physical valve in the unit requires a minimum head pressure in order to fully open. I scribbled some numbers on the back of an envelope, and clearly the gravity system wasn’t ever going to deliver enough of a head; unless I wanted to raise my 2000 litre tank several metres above the plot, this particular unit required mains pressure to ensure that the valve opened fully.
I did some scouting around, and found a timer that – according not only to the wording on the box, but also to the detailed technical specifications – was designed specifically for gravity-feed drip-lines, which as a bonus allowed the electronic operation of up to four separate gates. I bought one, with a single gate, and set it up.

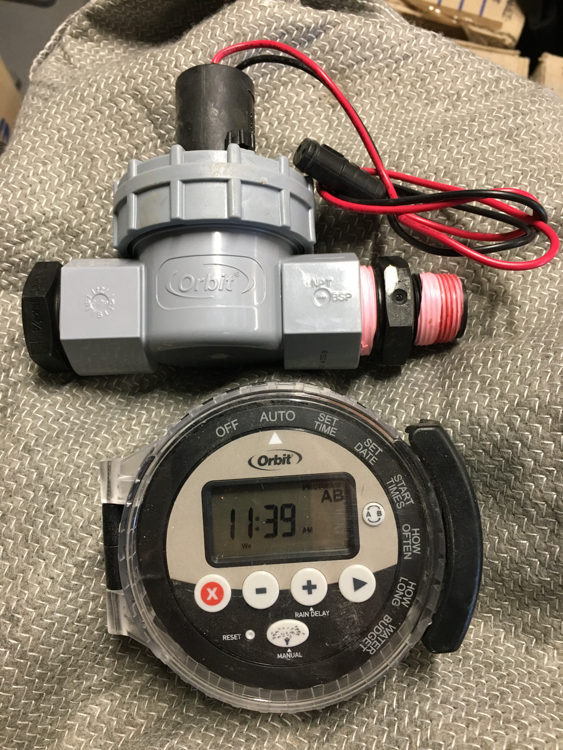
Unfortunately, this new valve didn’t perform much better than the first one. Despite its advertised capabilities, it too needed a minimum head pressure if the valve was to fully open.
I went back to my original gut feel; I would need a pumped system.
Oh boy, the internet is full of advice about irrigation pumps.
Eventually, though, I found some bloggers who had set up similar small systems, and the general consensus was that you could get good results by using an inexpensive pump from an ornamental garden fountain. These pumps have the double advantage that they operate on a pressure that is low enough not to overload the drip fittings, and they are cheap to replace if they go wrong.
Of course, these pumps need electricity. I got out a couple of solar panels and a battery box which I use to run my Engel fridge while four-wheel-driving and camping. I set this up in my shed, and bought a simple mechanical timer to control the pump.

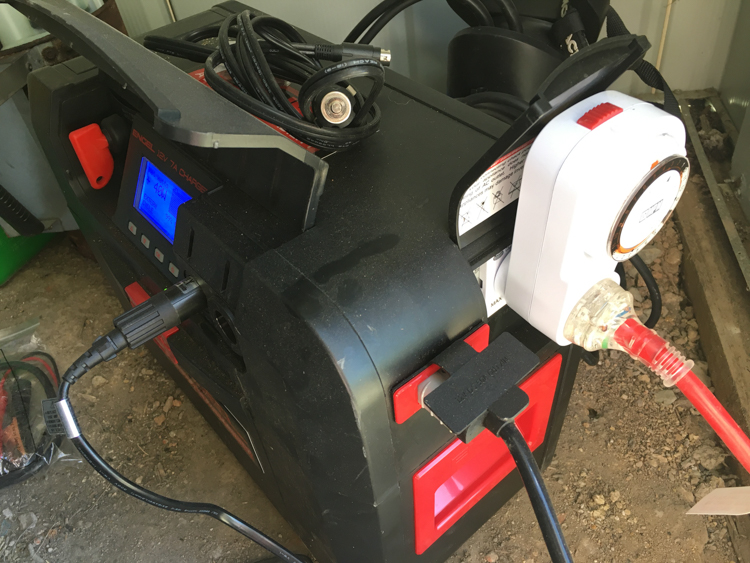
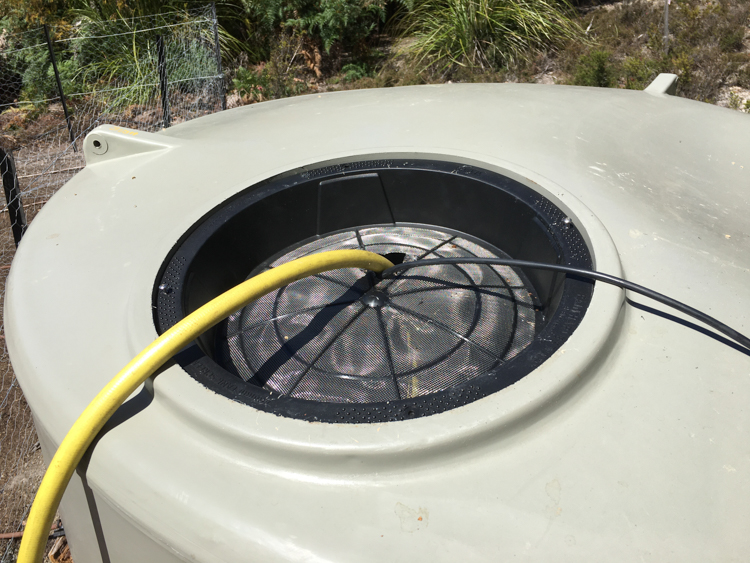
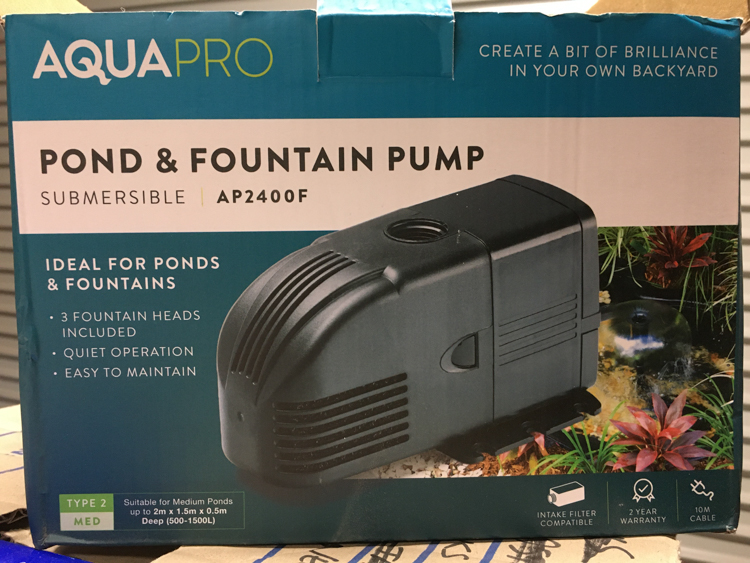
I turned it on, and the water flowed gently out of the drip feeder. I set it up to run for half an hour, morning and night, calculating that this would use 1000 litres a week, or a fortnight for the full tank. Contented, I drove home.
Where has all my water gone?
A couple of days later, I returned. The soil had clearly been watered, but the tank was empty. That was nearly a thousand litres in two days. Puzzled, I refilled the tank, re-did the math (same answer), and turned down the flow on the pump.
Despite this glitch, the system appeared to be working in the sense that it was wetting the ground, and time was ticking on and I didn’t want to miss the Autumn planting season. It wasn’t perfect, but I needed to plant some seeds.
Tasmanian soil is fairly consistent across the State, and has a mineral profile that lacks certain essential ingredients for vegetable gardening. I had found an organic fertiliser recipe in the excellent book ‘Tasmanian Food Gardening’ by Steve Solomon, and had for some time been tracking down the ingredients from local suppliers.
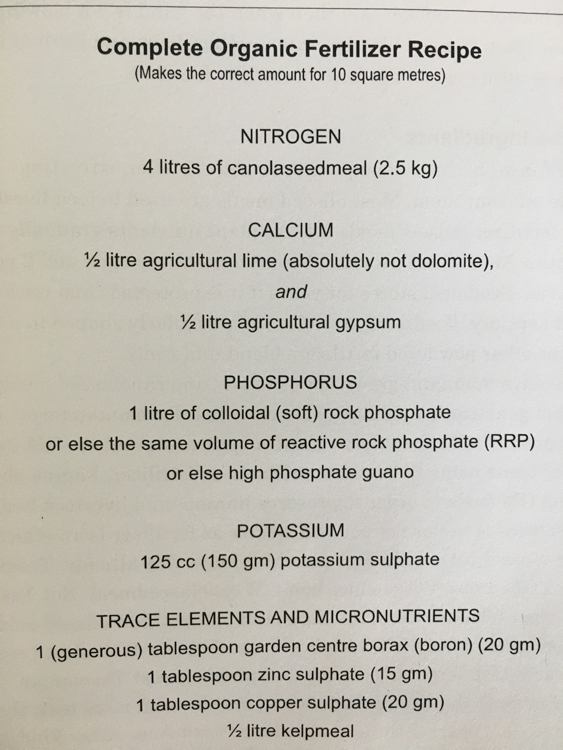
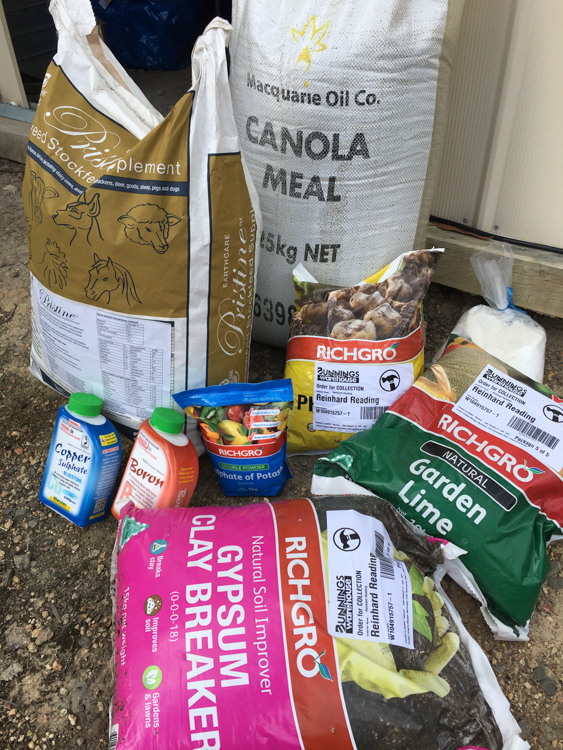
I mixed up enough for ten square metres, sprinkled it around, and planted the seeds of some winter vegetables. Apart from the niggle of the water usage, everything seemed to be going smoothly.
A few days later I returned, and the tank was once again empty. I had other things to take care of, but the seeds were sprouting and we were in the middle of a drought, so for the next few weeks I was taking every spare moment to drive back and forth, towing thousands of litres of water and pumping them into the ravening maw of my irrigation system.
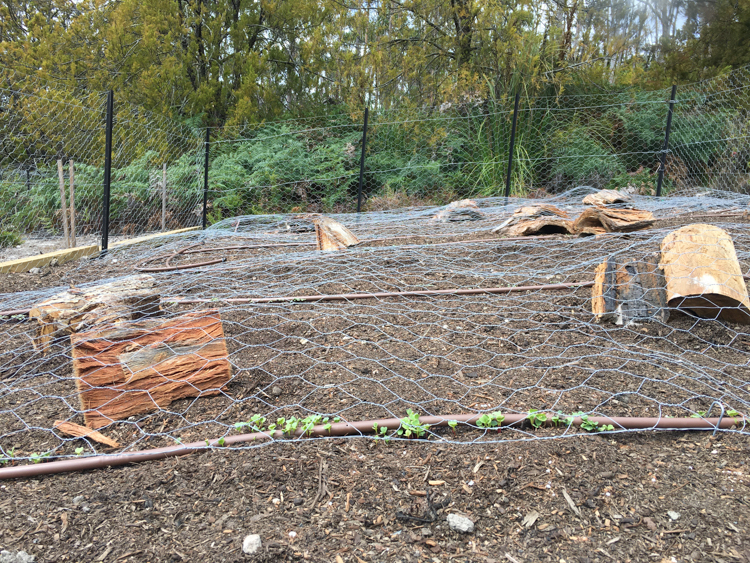
At last, after several weeks of this craziness, I was able to put aside a whole day to sit quietly without the distractions of work, of house-building, of firewood, or of small children, and to turn the system on and off and to observe it carefully.
Firstly, the mechanical timer was not keeping time at all. During the past fortnight I had noticed that it would be running anything from one to twelve hours behind (or possibly ahead, who knew?). I had it set to switch the pump on for 30 minutes, twice a day, but if the timer wasn’t reliable, how long was it really pumping for?
I took the timer out of the system, and, sitting quietly in the sunshine, began switching the pump on and off manually. Because it’s a low-pressure drip system, it isn’t immediately obvious from the business end whether it’s on or off. Once the pump stops, the pipes spend an appreciable time slowly draining, and you have to watch the drip nodes very closely to see if any water is coming out, especially as – without pump pressure – only the nodes on the underside, hidden against the soil, are working.
Time and patience eventually won out, and I proved to my satisfaction that, once the pump switched off, the pipe continued to siphon slowly throughout the day, quietly draining the tank until it was empty. There was a satisfying magical moment when I turned the pump off and stabbed an air-hole at the highest point of the hose. The system aspirated loudly, and the flow stopped.
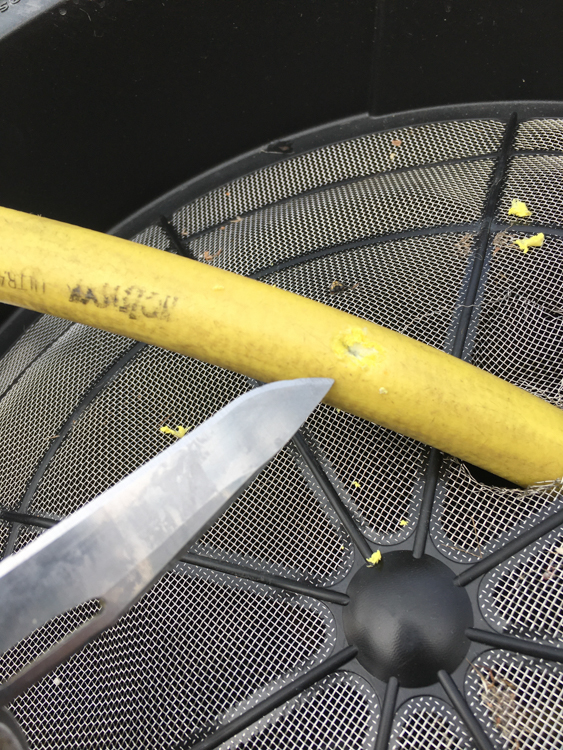
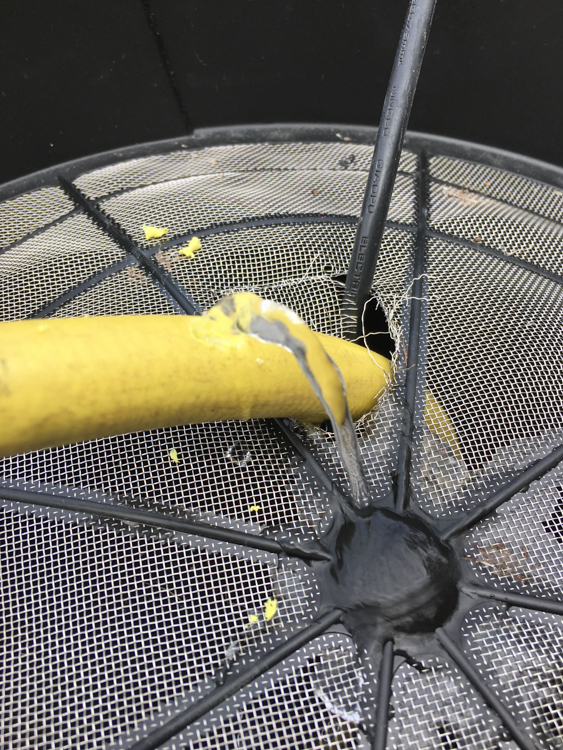
When the pump is on, it now spurts a little fountain out of the cut hose, but the water returns to the tank, the pump and drip line compensate for the pressure loss, and the fountain makes a pleasant tinkling sound that tells me when the irrigation is on.
Remember the problem with the mechanical timer? I replaced it with a digital timer, which keeps perfect time. Later, I tried the mechanical timer at home, on mains power, and it ran perfectly; there must be something about running it on the inverter of the battery box that confuses it.
Catching the rain for irrigation
One day, we’ll build a shed with a large roof which will capture tens of thousands of litres, which will solve all our water supply problems. Right now, though, we have other priorities, but I was not unaware of the craziness of towing thousands of litres across country with a big V8 several times a week.
Our builders in Kingston had ordered a batch of incorrectly coloured roofing panels, which were sitting in the garden of our house, awaiting disposal. I put them in the trailer, added a stack of cheap construction timber and some guttering, and built myself a rain-catcher. It won’t really collect a lot of rain in the dry season, but – bearing in mind that the irrigation system is agnostic to the weather, and pumps rain or shine – it keeps the tank topped up in the wet.

Yes, it would be possible to add a rain sensor. It’s on my ‘nice to have’ list.